
TL;DR – Key Takeaways
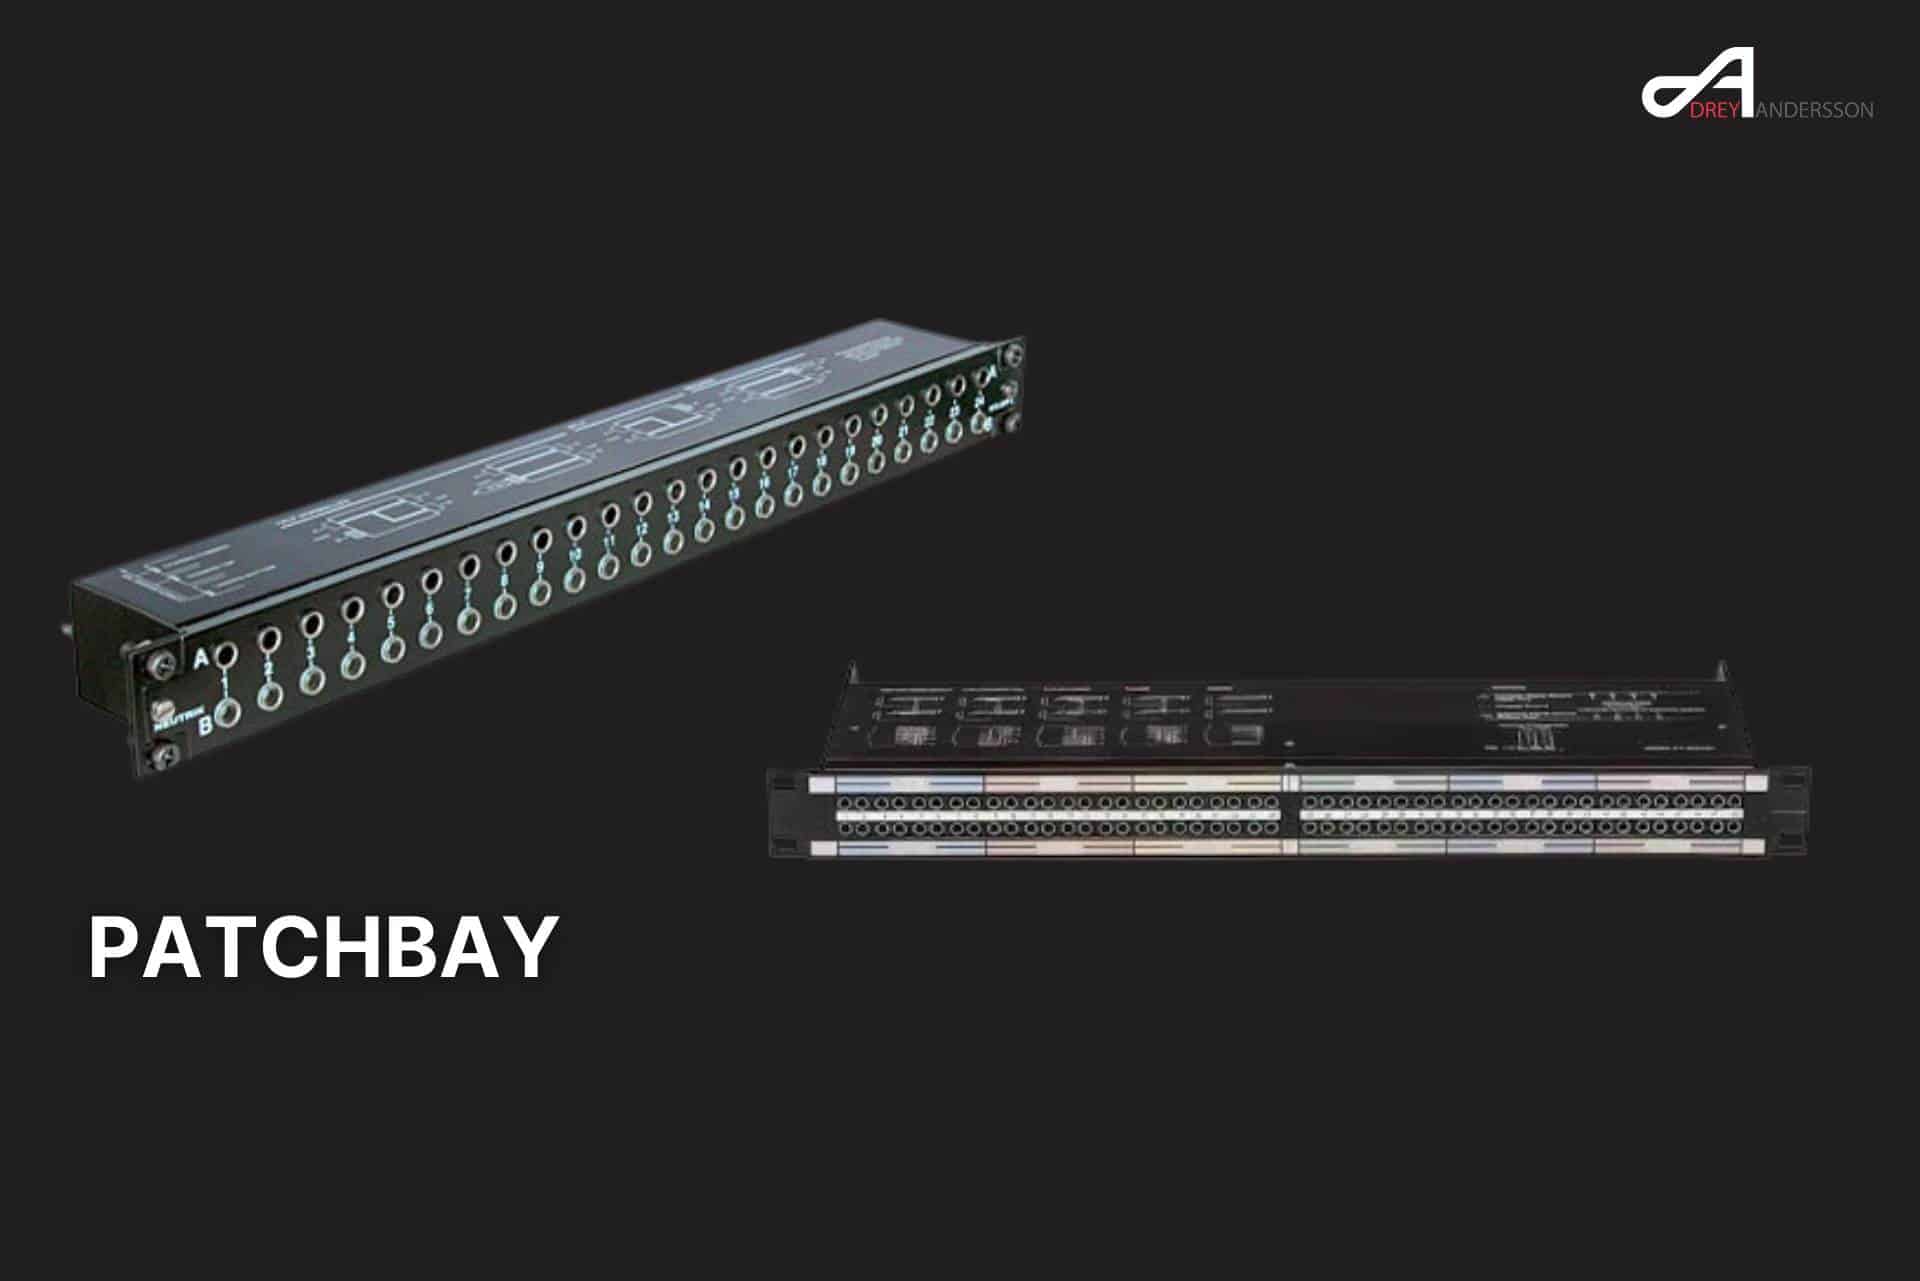
What is a patchbay? A centralized hub that connects all your studio equipment’s inputs and outputs, allowing quick signal routing without reaching behind racks or constantly unplugging cables.
Best for home studios: Samson S-Patch Plus (48-point TRS, $150-200 range) Best professional: Switchcraft StudioPatch 9625 (96-point TT/Bantam) Most innovative: Flock Audio Patch (digitally controlled, no cables needed)
When you need one: If you’re constantly re-routing gear, have 4+ outboard units, or want professional workflow efficiency.
Even in today’s digital-dominated studios, patchbays remain one of the most valuable workflow tools for music producers working with hardware. Whether you’re running a home project studio or a professional facility, understanding patchbays can dramatically improve your efficiency and creative possibilities.
What is a Patchbay and Why Do You Need One?
A patchbay is essentially a manual routing matrix that brings all your equipment’s inputs and outputs to a centralized front panel. Instead of crawling behind racks to swap cables every time you want to route a synthesizer through a different compressor, you simply patch cables on the front of the unit.
The core problem patchbays solve: If you find yourself constantly re-connecting gear, or even worse, avoiding changing the routing even when it would be more useful, it’s time for a patchbay!
Key Benefits of Using a Patchbay
Workflow Efficiency: All from the comfort of your studio chair. No more interrupting your creative flow to rewire equipment.
Organization: A patchbay keeps your setup organized and helps you save a massive amount of time. All your connections are clearly labeled and accessible.
Flexibility: The beauty of a patchbay is that any and all of these normalled connections can be ‘over‑plugged’ to substitute a different device in the signal path, or to create a different processing order.
Equipment Protection: Reduces wear on expensive equipment inputs/outputs by using the patchbay’s robust connections instead.
How Patchbays Work: The Basics
Understanding patchbay operation is simpler than it appears. A patchbay is actually really simple: it’s nothing more than a manual routing matrix.
Basic Configuration
Top Row = Outputs (Sources): Equipment outputs connect to the top row of jacks Bottom Row = Inputs (Destinations): Equipment inputs connect to the bottom row
When patching gear together on a patchbay, think of the signal flow like a waterfall. Signal flows from top to bottom, from sources to destinations.
Understanding Normalling
The most confusing aspect for newcomers is “normalling” – but it’s actually straightforward. This is what ‘normalling’ is, and it just means that the ‘normal’ routing, with no patch cords inserted, is for the socket in the upper row to be connected to the socket directly below it.
Three Types of Normalling
Full-Normal Configuration
- Default connection between top and bottom rows
- Connecting a patch cable to the output on the front will break the input connection and signal will only be sent through the patch cable.
- Best for: Primary signal paths like preamp-to-interface connections
Half-Normal Configuration
- Half-normalled means that connecting a cable to the top row of the patch bay won’t break the signal link, but inserting a cable into the bottom row will.
- Allows signal multiplication/splitting
- Best for: Effects sends, monitoring splits
Non-Normal Configuration
- Unlike full and half-normal, non-normalling on a patchbay is when the output does not flow down to the corresponding input unless you connect a patch cable.
- Complete manual control required
- Best for: Specialized routing, preventing accidental connections
Types of Patchbays: Choosing the Right Format
TRS (1/4″ Phone Jack) Patchbays
Best for: Home and project studios, beginners, budget-conscious setups
Advantages:
- Most affordable option
- ¼” TRS—Typical consumer patchbays use ¼” TRS for input and output. This brings down the cost and makes the connectivity more universal for home studios.
- Easy setup with standard cables
- Compatible with most project studio gear
Typical Capacity: 48 points (24 inputs, 24 outputs) in 1RU Price Range: $100-400
TT/Bantam Patchbays
Best for: Professional studios, high-density routing needs
TT stands for “Tiny Telephone” or “Bantam” – The names are interchangeable today. These professional-grade patchbays offer maximum connection density.
Advantages:
- Today, a 1/4″ patch bay (larger than the TT style) typically has 48 patch points, while a TT patch bay typically has 96.
- Superior contact reliability
- Professional standard in major studios
- TT connections offer the highest quality and provide the most reliability over time.
Disadvantages:
- Higher cost for bay and cables
- More patch points in less space means a higher price, but many users are willing to pay for the convenience and efficiency of a TT patching system.
Typical Capacity: 96 points in 1RU Price Range: $800-3000+
XLR Patchbays
Best for: Microphone routing, studio installations with multiple mic positions
The ART P16 Balanced XLR Patchbay is a 16 channel patch bay. It enables you to connect up to 16 microphones or other XLR-enabled devices.
Key Benefit: If you find yourself constantly plugging and unplugging XLR cables from your audio interface, an XLR patch bay is essential; it’s cheaper to replace an XLR patch bay than it is to service the worn out XLR jacks on an expensive Apollo x8 interface.
Modern Innovation: Digital Patchbays
Flock Audio Patch System
The most significant patchbay innovation in recent years is digitally controlled analog routing. The Flock Audio Patch is a digitally controlled analog patchbay with hardware and software components that allow you to control equipment chain routings throughout your studio with flexibility and recall capabilities never before possible — no patch cables required!
How it works:
- In Patch, no audio is ever converted to digital — all channels running through it remain in the analog domain and only the patchbay routings are altered digitally.
- Computer-controlled via USB
- Software interface for routing
- Instant recall of configurations
User Experience: “WTH this is nuts. I have so many options I didn’t have before… All with either the drag and drop on my Slate Raven or with the click of a mouse.”
Investment Consideration: “Be prepared to spend a bunch on extra DB25 snakes and breakouts and adapters and whatever other cabling is needed to get all of your gear hooked up into the Patch.”
2024 Patchbay Recommendations
Best Home Studio Patchbays
Samson S-Patch Plus – Top Overall Choice
- The Samson S-patch Plus is a fully balanced 48-point patchbay that has enough flexibility for most studio applications.
- It’s easily configured via a front panel switch, so it’s ideally suited for new users as well as more experienced studio boffins that require a fair bit of versatility from their patch bays.
- Price: $150-200
- 48 points, 1RU, balanced TRS
Neutrik NYS-SPP-L1 – Runner-up
- Professional build quality at prosumer price
- Excellent long-term reliability
- Easy rear connections
ART P16 – XLR Specialist
- 16 channel patch bay… suitable for professionals such as sound engineers and musicians. It can manage multiple sound sources, which is ideal for large home studios, commercial recording studios, and live concerts.
Professional Studio Patchbays
Switchcraft StudioPatch 9625
- The Switchcraft StudioPatch 9625 is a versatile bantam patch bay. It is designed to integrate into both analog and digital patch bay environments.
- It has 48 channels, or 96 points, of TT (Bantam) jacks. Each one of the two 48-point groups has its own DB-25 input and output.
- This TT patch bay has adjustable configuration modes. You can easily modify the settings to suit your studio’s needs using a flathead screwdriver.
Black Lion Audio PBR Series
- The PBR TRS³ is a 48-point TRS patchbay, suitable for the most robust routing imaginable in a single rack space, loaded with 96 audiophile-grade gold-plated 1/4″ TRS connectors for maximum conductivity and signal clarity.
- LED display options available
- Audiophile-grade construction
Setting Up Your Patchbay: Step-by-Step Guide
Planning Phase
Step 1: Equipment Inventory Make a list of all the devices and outboard equipment that you will be using with your patchbay, including microphones, instruments, effects units, and recording equipment.
Step 2: Determine I/O Requirements Count your total inputs and outputs needed. Unless tracking drum kits or live bands, most project studios now tend to record only one or two sources at a time, yet have a large array of sources to record: various keyboards, mic preamp choices, guitar and bass amp DIs, and so on.
Physical Installation
Rear Panel Connections:
- Connect equipment outputs to top row rear jacks
- Connect equipment inputs to bottom row rear jacks
- Use high-quality cables (Mogami, Canare recommended)
Front Panel Setup:
- Label all connections clearly
- For even better patchbay organization, you can label your jacks and use color-coded cables.
- Keep patch cables organized and easily accessible
Configuration Strategy
Normalling Decisions: In this kind of situation one particular device (a ‘go‑to’ mic preamp, for example) might be used much more frequently than others, so it could make sense to configure that unit with normalled connections to the interface I/O.
Chain Building: It might also be the case that you want to chain several units together, with the output of one unit routinely sent to the input of another, such as when forming a custom ‘recording channel’ from separate preamp, EQ and compressor devices; that’s another obvious candidate for normalling.
Common Patchbay Applications
Audio Interface Integration
The obvious candidates are things like an audio interface’s line inputs and outputs, outboard processor and effects units’ I/O, any external A‑D/D‑A converter analogue connections, the line outputs and any dedicated line inputs of external mic preamps.
Modern Hybrid Workflows
In my studio, all of the outputs on my audio interface are also connected to my patchbay. This allows me to route my plugins or pre-recorded audio tracks to external gear with minimal effort.
Creative Applications
Spare sockets on your patchbay can be put to good use. For example, you can easily wire up polarity inverters, pads and mults (parallel outputs) for convenient access.
What NOT to Connect to Your Patchbay
I strongly advise against patching mic signals on a regular patchbay… Although it’s technically possible, I’d also advise against using a standard patchbay to route digital audio or control signals, such as S/PDIF or AES3, word clock, MIDI, RS422, DMX and that kind of thing.
Avoid connecting:
- Microphone-level signals (use dedicated mic patchbays)
- Digital audio signals
- Control voltages
- MIDI signals
- Word clock
Cost Considerations and ROI
Initial Investment Breakdown
Budget Home Setup: $300-600
- Samson S-Patch Plus: $200
- Quality patch cables (10-20): $100-200
- Installation cables: $100-200
Professional Setup: $1500-5000
- TT patchbay: $800-2000
- Professional installation: $400-800
- TT patch cables: $300-500
- Rear cabling: $400-1000
ROI Factors
- Time savings per session
- Reduced equipment wear
- Enhanced creative workflow
- Professional appearance and functionality
Maintenance and Troubleshooting
Contact Care
The main enemy of patchbays is dust, dirt and corrosion/tarnishing, which results in unreliable connections, with increased distortion and noise.
Maintenance Schedule:
- Monthly: Clean patch cables and frequently used jacks
- Quarterly: Full contact cleaning with DeOxit
- Annually: Complete system check and re-seating of rear connections
Common Issues and Solutions
Intermittent Connections:
- Clean jack contacts
- Replace worn patch cables
- Check rear panel connections
Ground Loops:
- Review grounding scheme
- Use ground-lift adapters where appropriate
- Consult with professional installer for complex issues
Future-Proofing Your Patchbay Investment
Scalability Considerations
Plan for studio growth by oversizing your initial patchbay purchase. However, even if you only own unbalanced gear, you might want to consider purchasing a balanced patchbay to make your studio fully optimized and future-proof.
Digital Integration
Consider hybrid solutions like the Flock Audio system if you value automation and recall capabilities alongside traditional analog routing.
Emerging Technologies
Keep an eye on developments in digital routing and AI-assisted studio management that may integrate with traditional patchbay workflows.
Industry Expert Insights
Professional testimonials consistently emphasize the transformative nature of proper patchbay implementation:
“Wanted to tell you how impressed we are with our kickass new patchbay setup. The craftsmanship is amazing! We rewired our entire studio this week and instantly heard the difference.” – Jason at Acadia Recording Company
“Game Changer! I bought one of these about six months ago and it’s worked brilliantly. The immediate routing options are light years beyond what is possible with a standard patch bay.”
Conclusion: Making the Patchbay Decision
Patchbays represent one of the most practical investments for serious music producers. While with so much of what we do today carried out ‘in the box’, the humble patchbay is growing rarer outside of professional studios, they remain incredibly valuable for hybrid workflows.
You should invest in a patchbay if:
- You own 4+ pieces of outboard gear
- You frequently change signal routing
- You value professional workflow efficiency
- You plan to expand your hardware collection
You can probably skip a patchbay if:
- You work entirely “in the box”
- You have minimal outboard gear
- Your routing rarely changes
- Budget is extremely tight
Remember: Every home studio is unique. You’ll have to decide on your own if using a patchbay fits into your workflow. But for most producers working with hardware, the workflow improvements and creative possibilities make patchbays one of the best studio investments you can make.
The key is choosing the right type and capacity for your specific needs, whether that’s a simple TRS unit for a home studio or a professional TT system for commercial work. As digital control options like the Flock Audio system mature, we’re likely to see even more innovation in this essential studio category.