A reliable audio monitoring path is the mastering engineer’s lifeline for critical audio analysis. Without it, our ears cannot be trusted to make accurate improvements during the mastering process.
That’s why constructing an effective monitoring path is a mandatory first step before mastering any audio.
In this guide, we’ll break down the key components of a trustworthy monitoring setup for mastering.
Follow these recommendations in your studio and your mixes will vastly improve from better-informed mastering decisions. Let’s dive in!
What is a Monitoring Path?
An audio monitoring path consists of all gear in the playback chain – from initial audio source through speakers converting signals back into soundwaves.
Typical signal flow looks like:
Audio Source > Audio Interface > Monitor Controller > Power Amp > Speakers
We rely completely on specialized monitoring paths designed to output neutral, accurate sound for critical mixing and mastering decisions.
But consumer/multimedia gear aims to hype excitement at the cost of accuracy. Those speakers won’t reveal flaws or show where mixes need improving!
Constructing an accurate monitoring path isolates us from these “lies” so music production decisions serve long term art rather than short term gratification.
Key Considerations for Mastering
Here are the key elements to optimize within a monitoring signal path for precision mastering capability:
Fixed Calibration Level
Choosing an ideal monitoring output level and NEVER deviating protects against our ears’ tendency to perceive different frequency balances based on loudness.
83dB SPL averaged over time most accurately represents how commercial music gets mastered.
Stick religiously to this number by calibrating speakers/amp settings then forgetting them!
Acoustic Treatment
Speaker output interacts with room dimensions, surfaces and objects – altering frequency balance arriving at our ears from the original signal.
Minimize acoustic interference through careful speaker/listening positioning and calculated absorption/diffusion treatment.
Transparent Gear
Every piece of electronics colors signals to some degree. Aim for the least possible character/coloration from wires, amps, speakers etc.
This allows the most neutral translation of audio into soundwaves without hype/personality skewing perception.
Mid-Field Monitors
Position speakers far enough away so acoustic anomalies smoothen out before reaching your ears – but not so far high frequencies dissipate.
2 to 4 meters distance from speakers produces a desirable “mid-field” response – accurate but not fatiguing over long sessions.
Near-Field Monitors
Additional close-proximity speakers between 1-2 meters away serve two purposes:
- Revealing finer mix details
- Simulating listeners’ average speaker proximity (laptops, earbuds etc.)
Ensure nearfields still integrate smoothly into the room by minimizing surface reflections.
Dialing In Your Monitoring Path Step-By-Step
Follow this process to methodically optimize monitoring for precision mastering capability:
Step 1 – Calibrate Speaker Levels
First choose your standard monitoring SPL and stick with it forever. 83dB SPL is an excellent average.
Play steady pink noise covering full spectrum. Adjust amp level until 1kHz tone reads 83dB SPL C-weighted on a calibrated meter.
Step 2 – Acoustic Treatment
Next assess speaker interaction with the room using sine wave sweeps to reveal problem resonances.
Listen for boomy/harsh room modes and treat them through absorption and diffusion.
Step 3 – Speaker Positioning
Reposition mid-field monitors slightly forward/back, angled inward towards mix position and raised to ear height.
Find the “sweet spot” delivering most accurate stereo image, smoothest response and least ear fatigue over time.
Tweak port plugs/bass trim kits to contour low-end response for your room.
Step 4 – Listening Position
Precision comes down to identifying the “golden triangle” delivering most transparent translation between speakers.
Approximate equidistance from left/right monitors prevents biased loudness. Experiment until stereo imaging locks in.
Mark the spot permanently! Stick to it exclusively.
Step 5 – Audition Trusted Mixes
Now audition commercial mixes with technical quality and emotional impact you know intimately from years of enjoyment.
Ingrain their frequency balance, immersive qualities and emotional energy.
Step 6 – Compare Your Mixes
Bring in your own mixes devoid of visual feedback or memories. How do they compare by every quality marker?
Now you have fully objective feedback revealing precisely how mixes translate from your studio to the real world.
From here make deliberate incremental improvements until mixes evoke the excitement and detail recall of your trusted references.
Have patience abolishing old habits! But stay committed to keep inching closer through continually upping your standards.
Advanced Tactics
Take monitoring to the next level with these proven tactics:
Monitor Controller
A dedicated hardware unit switching between speakers gives greater control over level calibration, mono/stereo folds, mute automation etc.
High quality switches ensure impeccable signal purity all the way to power amp stage. Passive volume controls retain maximum resolution/headroom.
Consider upgrading from software monitoring solutions to purpose-built hardware.
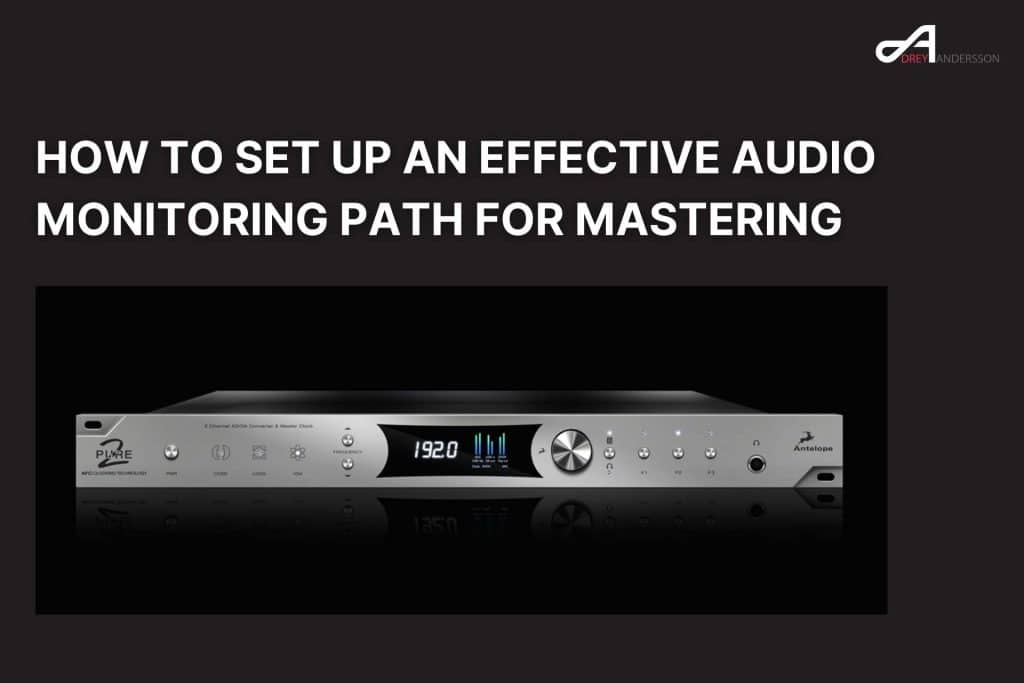
External DAC
Convert digital signals back into analog as close to final power amplification as possible rather than inside an audio interface/computer.
Use dedicated reference DACs from companies like Benchmark, Mytek, Crane Song, Antelope etc.
This bypasses extra analog conversion and potential electrical interference inside typical pro audio interfaces.
Mid-Side Monitoring
Decode mid/side channels for critical stereo dimension evaluation.
Spot phase issues and finesse placement of centered/wide elements faster through isolated monitoring.
Secondary Audio Interface
Route audio digitally through a separate interface solely for monitoring – not recording signal pass-through.
Avoids artifacts like latency compensation changing signals. Reduces interface DSP load.
Building a Versatile Mastering Chain
In addition to setting up an accurate monitoring path, having a flexible mastering chain that can be adapted to any master is crucial. As described in the YouTube video, there is no one-size-fits-all preset that will make every master sound great. The chain needs to be tweaked for each song’s particular needs.
Some key elements to include:
- Corrective EQ: Tackle problems in the mix like rumbling low end. Can also boost lacking areas like low mid resonance for sub bass.
- Light compression: Glue the mix together without overt compression effects.
- Multiband compression: Optionally make the sound more exciting by compressing each frequency band separately.
- Envelope shaper: Bring out attacks of kick, snare, etc. to recover punch and transients.
- Saturation: Add richness and low end fullness with tape/tube simulation. Widens the stereo image too.
- Maximizer: Raise loudness without over-limiting which damages dynamics.
The most important thing is using these processing tools gently and gradually, focusing on 1-2 db improvements. Slapping on heavy compression or limiting at the end usually backfires. Building the chain properly allows you to squeeze every last drop of loudness and quality out of a mix!
Conclusion
With a trustworthy, carefully-calibrated monitoring path under your command, a whole new level of mix clarity will emerge informing dynamics/tonal balance decisions.
Suddenly you have the same tools of the trade as professional mastering engineers. Now it just takes practice reading the meters to zero in on precision!
Each incremental improvement gets exponentially more challenging of course!
But perseverance pays off long run through building a bulletproof monitoring foundation empowering reliable mix analysis.
Soon you’ll have intimate familiarity with the sound of your space – transforming deficiencies into strengths.
Now mastering emerges not from reactive band-aids or mimicry – but deep conviction through enriched monitoring perspective.
Here’s to better sounding mixes thanks to monitoring paths giving our ears the fighting chance they deserve!