TL;DR – How To Make The Drumbrute Sound Better – Quick Answer:
The Arturia Drumbrute can be dramatically improved using external processing through its individual outputs. Key techniques include using compression on individual drums, EQ to sculpt each sound, and creative effects like distortion and delay. The built-in Steiner-Parker filter adds character, but the real magic happens when you route individual drums through external processors and mix them properly.
Introduction: The Drumbrute’s Hidden Potential
The Arturia Drumbrute burst onto the scene in 2016 as a fully analog drum machine that promised to bridge the gap between classic drum machines of the past and modern production needs. While it delivers 17 distinct analog drum sounds at an attractive price point of around $449, many producers initially find the raw, unprocessed sound lacking the punch and polish needed for contemporary music production.
However, the Drumbrute’s true strength lies not in its raw output, but in its exceptional connectivity and processing potential. With 12 individual outputs and a well-designed analog architecture, it becomes a powerhouse when paired with proper processing techniques. This comprehensive guide will show you exactly how to transform your Drumbrute from a good drum machine into an exceptional one.
Understanding the Arturia Drumbrute Architecture

Technical Specifications and Sound Engine
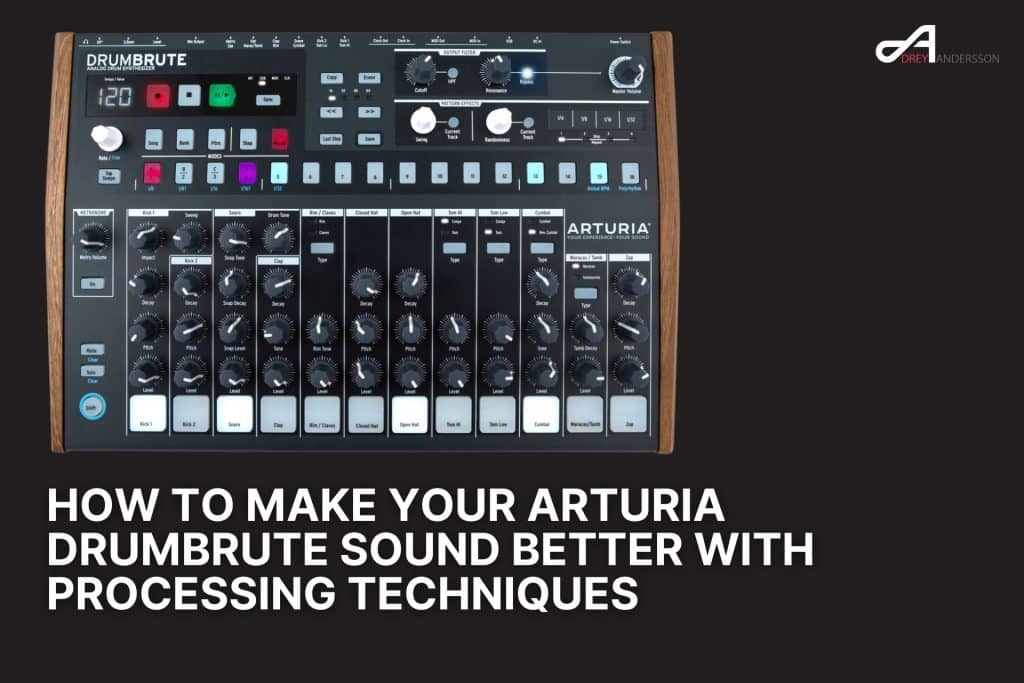
The original Drumbrute features 17 fully analog drum and percussion instruments spread across 12 velocity-sensitive pads. Each sound is generated by dedicated analog circuits, making it fully polyphonic with all sounds capable of playing simultaneously. The machine includes:
- Two distinct kick drums with different character
- Snare and clap sounds with wide-ranging tone controls
- Two hi-hats (open and closed) with separate tone and decay controls
- Toms, congas, rim shots, claves, maracas, and tambourine
- A unique ‘zap’ sound for electronic flavoring
The sequencer offers 64 patterns with up to 64 steps each, providing extensive programming possibilities. However, what sets the Drumbrute apart from many competitors is its comprehensive connectivity options and the inclusion of a 12dB dual-mode Steiner-Parker filter on the main output.
Drumbrute Individual Outputs: Your Gateway to Professional Sound

The Drumbrute’s 12 individual outputs are perhaps its most valuable feature for sound enhancement. When you connect a cable to any individual output, that instrument is automatically removed from the main mix and routed exclusively to that output. This behavior is crucial for professional processing because it allows you to:
- Apply different EQ settings to each drum sound
- Use dedicated compression on individual elements
- Route specific drums through effects processors
- Record each drum to separate tracks in your DAW
- Create complex stereo imaging with individual panning
Note that some sounds share outputs (rim and claves, toms and congas, maracas and tambourines), while the hi-hats share both an output and a mute group for realistic behavior.
Essential Arturia Drumbrute Processing Techniques
EQ Techniques for Individual Drum Sounds
Proper EQ is fundamental to making your Drumbrute sound professional. Each drum sound benefits from specific frequency adjustments that enhance its character while ensuring it sits properly in the mix.
Kick Drum EQ Guidelines
The Drumbrute’s kick drums often need significant EQ work to compete with modern productions. Start by using a high-pass filter around 40-50 Hz to remove unnecessary sub-bass rumble that can muddy your mix. Add presence around 2-5 kHz for click and attack, and consider a gentle boost around 60-80 Hz for fundamental weight. The two different kick sounds respond differently – experiment with both to find which suits your track better.
Snare Processing
The snare is often the most critical element in electronic music. For the Drumbrute’s snare, try boosting around 200-250 Hz for body, cutting around 400-500 Hz to reduce boxiness, and adding presence around 3-5 kHz. A gentle high-frequency shelf starting around 8 kHz can add air and brightness. Don’t forget that the accent function affects both volume and tone, so program your patterns accordingly.
Hi-Hat and Cymbal Enhancement
The Drumbrute’s hi-hats have a naturally metallic character that can be enhanced with careful EQ. High-pass around 300-500 Hz to remove low-frequency bleed, and use gentle boosts in the 8-12 kHz range for sparkle. The decay controls on the unit are quite effective, so use them in combination with EQ for the best results.
Compression Strategies
Compression can transform the Drumbrute’s somewhat loose timing and dynamics into tight, punchy drum sounds that cut through modern mixes.
Individual Drum Compression
Route your kick and snare to individual compressors with aggressive settings. Fast attack times (1-2ms) and medium release times (50-100ms) work well for tightening up the transients. Don’t be afraid of heavy compression ratios (6:1 or higher) – analog drum machines often benefit from being ‘squashed’ to achieve that modern sound.
Parallel Compression
Set up a parallel compression bus for your drum mix. Send all your processed drums to both your main mix and a heavily compressed bus, then blend the compressed signal back in for added punch and sustain. This technique is particularly effective with the Drumbrute’s somewhat dry sound character.
Creative Effects Processing
Beyond basic EQ and compression, creative effects can transform the Drumbrute into a unique sonic powerhouse.
Distortion and Saturation
The Drumbrute responds extremely well to various forms of distortion. Try tape saturation on the entire drum bus for vintage warmth, or use aggressive digital distortion on individual elements like the snare or kick for modern edge. Tube preamps and analog-modeled plugins work particularly well with the Drumbrute’s analog character.
Time-Based Effects
Synchronized delays can add movement and interest to your Drumbrute patterns. Try eighth-note delays on the snare for classic house feels, or use dotted eighth delays for more complex rhythmic interactions. Reverb should be used sparingly – the Drumbrute’s close, dry sound often benefits from room reverbs rather than long halls.
Maximizing the Built-in Steiner-Parker Filter

The Drumbrute’s built-in filter is a genuine Steiner-Parker design that can add significant character to your overall drum sound. However, it only affects the main output – sounds routed to individual outputs bypass the filter entirely.
Filter Techniques
The filter excels in both high-pass and low-pass modes. Use high-pass mode during builds and breakdowns to remove low-end weight dramatically. The low-pass mode with resonance can create classic acid-house style sweeps. Since you can’t automate the filter internally, practice manual filter sweeps or record multiple passes in your DAW.
One effective technique is to route only certain drums (like percussion elements) to the main output while sending kicks and snares to individual outputs. This allows you to filter the percussion while keeping the core rhythm elements unaffected.
Advanced Routing and Mixing Strategies
Hardware Setup for Maximum Processing
To fully exploit the Drumbrute’s processing potential, you’ll need a mixer with multiple inputs or an audio interface with sufficient inputs. A common setup involves:
- Route kick drums to dedicated channels with compression and EQ
- Send snare and clap to their own processing chain
- Group hi-hats and cymbals for collective processing
- Route remaining percussion through the main output with filter
- Use auxiliary sends for reverb and delay effects
DAW Integration Techniques
When working within a DAW, record each drum element to separate tracks for maximum flexibility. This approach allows you to:
- Apply different processing to each element
- Create complex automation patterns
- Layer samples with the analog sounds
- Create multiple versions of the same pattern with different processing
For loop-based recording, solo each instrument and record multiple passes while tweaking the onboard controls. This captures the natural variation that makes analog equipment special.
Addressing Common Drumbrute Sound Issues
Solving the ‘Thumpy’ Problem
Many users find the original Drumbrute overly weighted in the low-midrange, creating a ‘thumpy’ sound that doesn’t translate well across different playback systems. Address this by:
- Using the second kick drum option instead of the 909-style kick
- Limiting use of the tom sounds which contribute to muddiness
- Emphasizing the metallic percussion elements (maracas, tambourine, congas)
- Avoiding the ‘disco drum’ (zap) sound in most contexts
Enhancing Punch and Attack
The Drumbrute’s analog nature can sometimes lack the immediate attack of digital drums. Compensate by using fast compressors with aggressive attack settings, adding upper midrange EQ for presence, and utilizing the accent programming features extensively. The accent velocity threshold can be adjusted in the MIDI Control Center software for optimal response.
Recommended External Processing Tools
Budget-Friendly Hardware Options
You don’t need expensive gear to dramatically improve your Drumbrute’s sound. Consider these affordable options:
- Zoom MS-70CDR+ multi-effects pedals for experimentation (if you want to keep everything “out the box”)
- Klark Teknik 76-KT for analog compression
- Simple analog mixers with EQ for basic processing (For example Behringer X2222 )
- Guitar distortion pedals for creative sound design
- Behringer AD8200 (AD/DA Converter) to make use of the external outputs and route them into each channel in your DAW
Software Processing Solutions
Modern DAWs offer excellent drum processing tools. Popular choices include:
- FabFilter Pro-Q for surgical EQ work
- Ableton’s Glue Compressor for bus compression
- Soundtoys Devil-Loc for aggressive compression
- Native Instruments Transient Master for punch control
Live Performance Processing Techniques
The Drumbrute excels in live situations when properly processed. Its performance features like the roller, looper, and real-time pattern manipulation become even more powerful when combined with external processing. Consider using a small mixer with sends for reverb and delay, allowing you to add space and movement to your patterns during performance.
The unquantized recording mode (activated by holding Shift + Rec) allows for more human-feeling grooves that respond well to compression and can add organic movement to electronic productions.
Conclusion: Transforming Your Drumbrute
The Arturia Drumbrute’s true potential is unlocked through thoughtful processing and routing. While its raw sounds may seem limited compared to modern digital alternatives, the combination of analog character and extensive connectivity makes it a powerful foundation for contemporary drum production.
The key is understanding that the Drumbrute is not just a drum machine, but a collection of analog sound sources that benefit enormously from external processing. By utilizing the individual outputs, applying appropriate EQ and compression, and incorporating creative effects, you can transform the Drumbrute from a vintage-sounding box into a modern production powerhouse.
Remember that every great drum sound starts with a good source, and the Drumbrute provides that analog foundation. The processing techniques outlined in this guide will help you shape those sounds into professional, contemporary drums that can compete with any modern production. Whether you’re working in the studio or performing live, these techniques will help you unlock the beast within your Drumbrute.
About the Author: This guide was created by experienced music production professionals with over a decade of experience in electronic music production and hardware drum machines. Our team has worked with artists across multiple genres and has extensive hands-on experience with the Arturia Drumbrute in both studio and live settings.